The following guide explains how to setup NFT and crypto asset ownership verification in the Web3 Access plugin for WordPress. After setting up your Web3Product(s) with ownership verification, you can restrict your WordPress content to visitors who own specific NFTs or crypto assets.
The first step is add the Smart Contracts of the NFTs or assets you want to verify visitors own.
Go to Web3 Access -> Smart Contracts (NFTs) in your WordPress Dashboard. Fill in the provided fields.
After setting up your smart contract(s), go to Web3Products in your WordPress Dashboard.
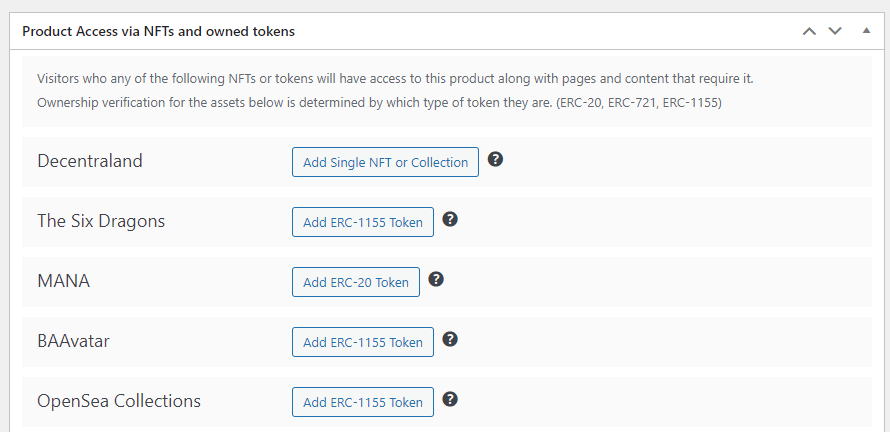
Find the Product Access via NFTs and owned tokens box. You should see a list of the contracts that have been added with buttons to add NFTs or tokens.

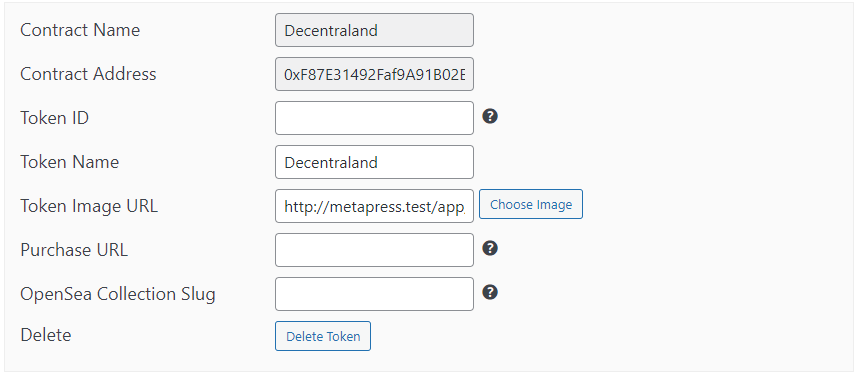
Click the button to add an NFT or asset. You should then see additional fields appear with the contract information already filled in.

Fill in the provided fields noting the following:
After adding all the NFTs and tokens visitors can use to verify their ownership, simply Update or Publish your Web3Product.
*Note: If you are using ownership verification, the Product Price on your Web3Product is optional. Filling in the Product Price will give visitors an option to make a payment (transaction via MetaMask / browser wallet) to get access to the content.