Download and Install the Web3 Access WordPress plugin.
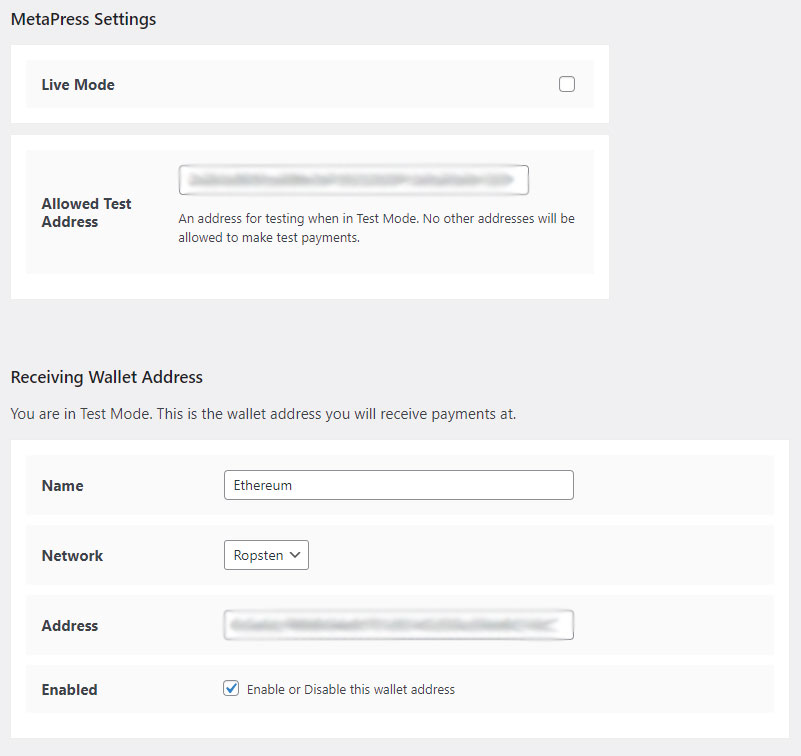
Go to Web3 Access in your WordPress Dashboard and enter your wallet address where you would like to receive transactions.
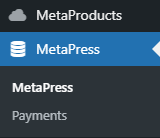
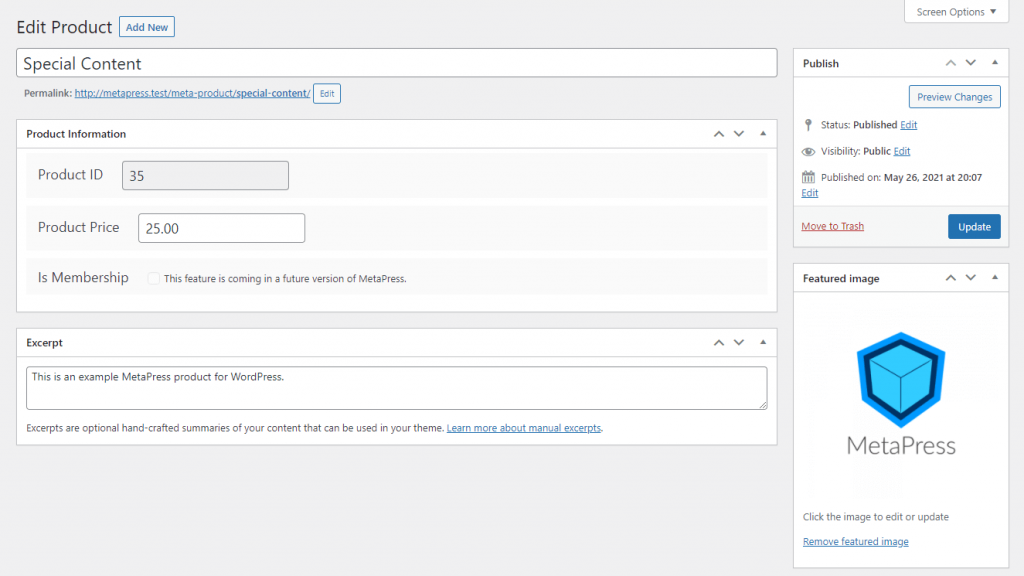
Go to Web3Products in your WordPress Dashboard and create your first product. Fill in the Product Title and Product Price fields. Note that all prices should be entered as USD values. Web3 Access will automatically convert your USD prices to the amount in tokens at the time of transactions.
You can optionally fill in the Excerpt field for a short product description as well as the Featured Image for a product image.
* Product Price is not required if you are using NFT Ownership Verification to provide access to content on your site.
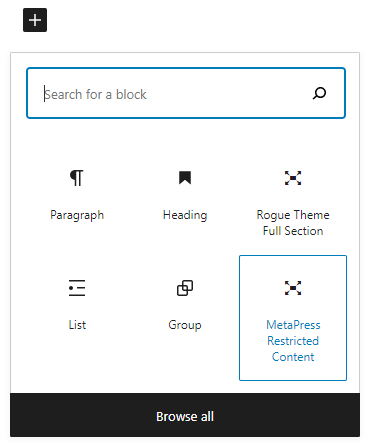
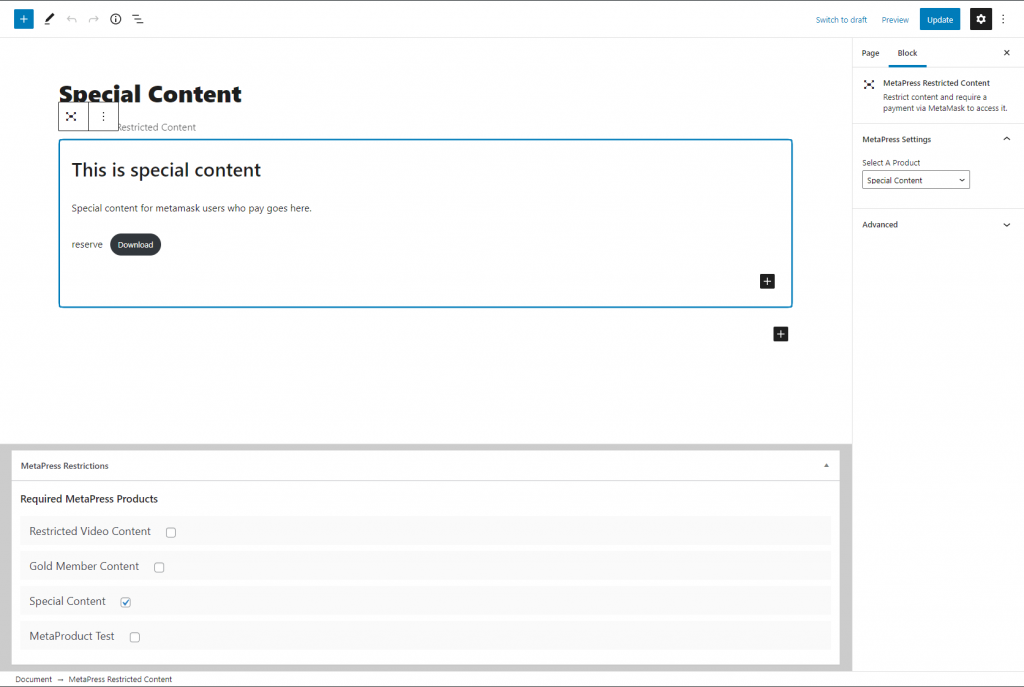
After creating a Web3Product, create a new Page or edit an existing one. If you’re using the WordPress Gutenberg Editor, look for the Web3 Access Restricted Content block and add one to your content.
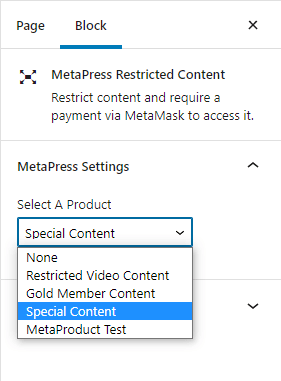
Select your Web3Product from the right side menu under Web3 Access Settings. This will require visitors to purchase that product in order to access the content within the Web3 Access Restricted Content block.
Make sure to add some content within the Web3 Access Restricted Block!
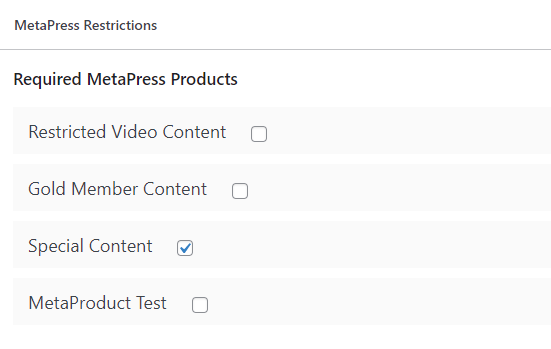
When Adding or Editing a Page, look for the Web3 Access Restrictions settings below the main content editor. Use the checkboxes under Required Web3 Access Products to restrict access to the entire Page to visitors who have purchase one of the checked products.
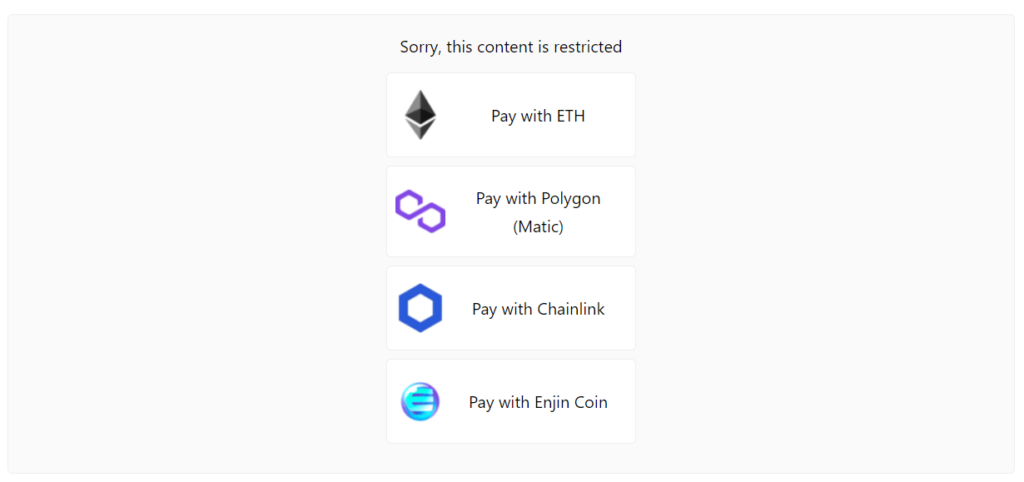
When a visitor visits a page with Web3 Access Restricted Content they will be asked to make a MetaMask / browser wallet transaction OR verify they own NFTs or other crypto assets that have been setup on your site. By completing a transaction via MetaMask / browser wallet or verifying they own required assets, visitors will then get access to the content.
If you have any questions or need to report a bug, send us a message!